There are 2 ways to access the VRS application to create profiles.
- Using the VRS test application
- Using the VRS icon in the system tray when scanning
1. Using the VRS Test icon
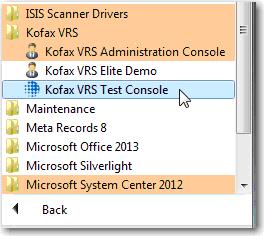
From the Start button in Windows, click All Program, Kofax VRS and select the Kofax VRS Test Console.
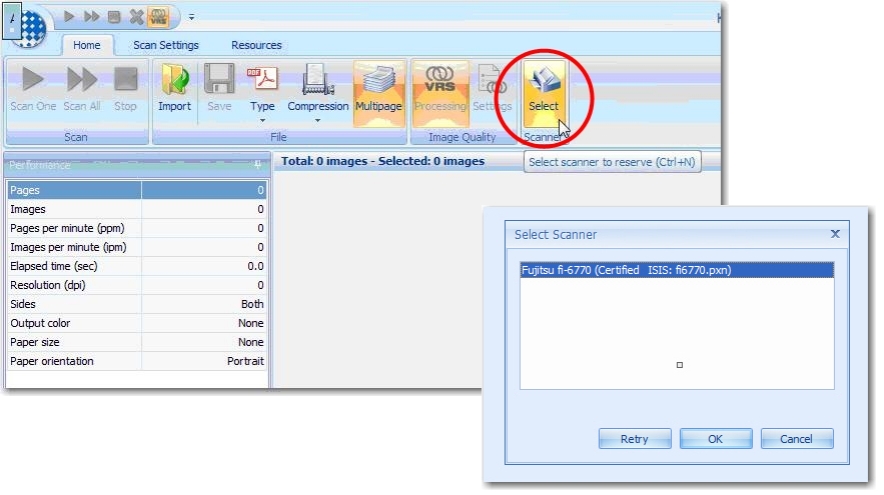
The VRS application will load. Click the Select Source button and select your connected scanner
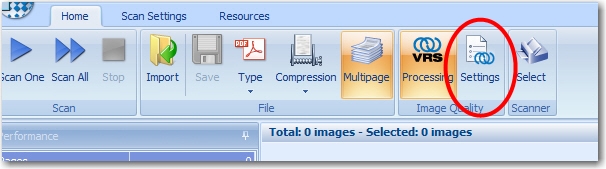
Once the VRS application loads, you can proceed to creating or modifying an existing profile by clicking settings.
2. Using the VRS Icon when scanning
During scanning, you may need to create a new VRS profile.
Double click the VRS icon in the system tray
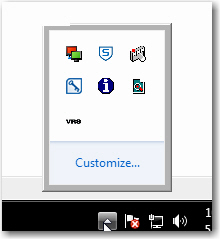
The VRS application will open the preview mode window (VRS configuration screen).
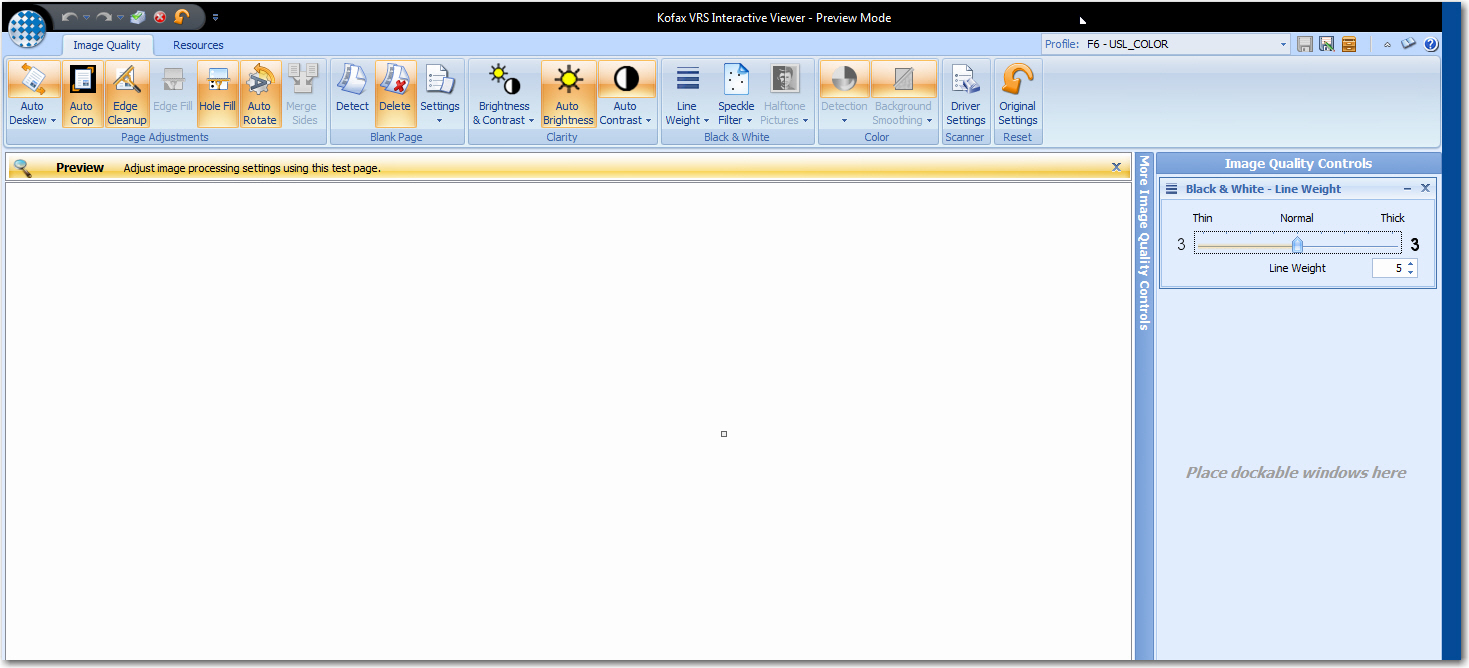
Configure profiles (existing and new)
The VRS configuration is mostly completed using the VRS ribbon tool bar.

|
|
Auto Deskew can be either by Content or Edges. Set to by Deskew Edges. |
|
 |
Click to enable Auto Crop. This will remove the black border. |
|
 |
Edge Cleanup. Click to enable Edge Cleanup. This will remove small lines left behind by Auto Crop. |
|
 |
Enable Auto Fill. This will remove black circles left by punched holes. The holes are filled with white inserts. |
|
 |
Enable Auto Rotate. This will rotate images so the text is upright. |
|
 |
Auto Brightness is only used for Black & White pages. Enable this option. |
|
 |
Auto Contrast adjusts the contrast for pages. Enable and use the sub menu to enable Auto. | |
 |
Check the box for Enable. Set Contract Sensitivity to 4.
Check the box for Intelligent Cleanup Set the Noise Sensitivity to 3. |
|
 |
Auto Deskew can be either by Content or Edges. Set to by Deskew Edges |
|
 |
Set the Speckle Size to 3. This size is removes all background noise up to 3 by 3 pixels. |

These settings are used for a Black & White Kofax profile. Save the settings using the Profile Save Tool.
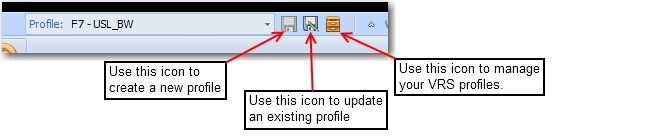
Note: When creating New profiles, use ‘friendly’ names to describe the profile e.g. ‘BW – Dark’.
For Color VRS Profiles, these additional setting need to be enabled.
In the VRS application (not the profile creator), click the Scan Settings tab and then set the scan type to Color.

Open the VRS Profile editor and set the options as for Black and White.
Additionally, set the following color settings:
 |
Set Detect to Enable. Set sensitivity to 50
Enable Detect Small Color Object and set the sensitivity to 75. |
 |
Enable Background Smoothing Set the Smoothness level to 40 |
For COLORGRAY, turn off the Color Detect option as above and save the new profile as USL_COLORGRAY
0 Comments